Mr. Fix It LLC

Follow Us On :

Transform Your Home with Mr. Fix It

Mr. Fix It helped these homeowners remove old carpet and laminate, and installed new laminate, baseboards, a pantry and backsplash. We can help you completely refresh your home. Take a look at the before and after photos below to see the difference.

If you’re in the market for new flooring, a custom tile backsplash or possibly adding a new pantry, Mr. Fix It can help and it may cost you a lot less than you think. Call or email Mr. Fix It today to get an estimate to upgrade and refresh elements of your home. If you’re interested in how we completed this renovation, some of the tools and materials we used for this project include:

  • Mapei Flecolor CQ Ready to Use Grout
  • Mapei Type 1 Tile Adhesive
  • Skil wet saw
  • Tile Nippers

Don’t Let Your Gutters Get Like This

It seems like an unimportant, mundane part of homeownership, but make sure you clean out your gutters, or hire someone to do it, each fall after the leaves come down. You don’t want to have to hire Mr. Fix It to come out to take care of them in December, when any water that is stuck in your gutters is frozen. It makes is much harder and more expensive. If you have dandelions growing in your gutters in December, that is a bad sign.
This is a service Mr. Fix It provides, but when the weather is freezing and it’s snowing, it’s going to come at a premium. Mr. Fix It’s fingers are still frozen.

Improve Your View Today

Mr. Fix It can help you improve the view from inside your home today with the installation of new blinds or curtains. One of our clients recently bought a new home, but the previous owners removed almost all of the blinds, leaving only a few mismatched sets. Over the course of two days, we installed 26 sets of blinds. Check out the transformation below.

Find the perfect blinds for your home at Amazon or Home Depot. Whether you’re looking for standard blinds, roller shades, or electric blinds, Mr. Fix It can install them all. You can find links to several options on Amazon below. As an Amazon affiliate, Mr. Fix It earns commissions from any qualifying purchases.

Hang Your New Flat Screen TV Before the Big Game Arrives

It seems like flat screen TVs are always on sale on Amazon, Best Buy or Target. There is always a bigger, higher res 4K UHC version available as soon as you bought the latest and greatest on the market. This time of year, with all of the Prime Time games and championships, you might find yourself with just such a TV, or maybe you got one over the holidays and haven’t had it mounted yet. Mr. Fix It can help you take care of that before its too late.

We’ve helped many clients transform their living room, bedroom or basement by mounting their latest TV on the wall, freeing up space and protecting those expensive purchases from potentially getting knocked over by roughhousing kids or some other random accident. Amazon has a wide variety of TV mounts, anything from the simple flush mount, to rotating wall mounts with articulating arms.

We can also run the electrical cords inside the wall, if that’s what you’re looking for. See a few examples of previously mentioned TV mounts below availabe on Amazon. Keep in mind that Mr. Fix It is an Amazon affiliate and receives a commission for sales generated from the below links.

Interior door installation guide. This is not an easy diy project and requires a fair amount of experience.

Title: A Step-by-Step Guide to Interior Door Installation: Enhance Your Home’s Appeal

Introduction:

Welcome to our comprehensive guide on installing interior doors! Whether you’re sprucing up your space or adding a finishing touch to a renovation project, installing interior doors can instantly elevate the aesthetic appeal of your home. In this blog post, we’ll walk you through the process step by step, ensuring a seamless and professional-looking result.

Step 1: Gather Your Tools and Materials

Before you begin, gather all the necessary tools and materials. You’ll typically need:

– Interior door(s)

– Measuring tape

– Pencil

– Screwdriver or drill

– Level

– Shims

– Hammer

– Nails or screws

– Hinges

– Door knob/lever set

– Safety glasses

Step 2: Measure and Prepare the Door Opening

Measure the height and width of the door opening to ensure you purchase the correct size door. Remove the existing door (if applicable) and trim any excess material, ensuring the opening is clean and level.

Step 3: Install the Hinges

Position the hinges on the door according to manufacturer instructions, typically 7 inches from the top and bottom of the door. Use a pencil to mark the hinge locations and then attach the hinges to the door using screws.

Step 4: Attach the Door to the Frame

With the help of a friend, position the door in the opening. Use shims to ensure the door is level and plumb. Secure the hinges to the door frame using screws.

Step 5: Install the Door Knob/Lever Set

Follow the manufacturer’s instructions to install the door knob/lever set. This typically involves drilling holes for the latch and strike plate, as well as attaching the knob/lever and faceplate.

Step 6: Test and Adjust

Once the door is installed, test it to ensure it opens and closes smoothly. Make any necessary adjustments to the hinges, shims, or latch mechanism to ensure proper operation.

Step 7: Finish and Seal

If desired, apply a coat of paint or stain to the door to match your interior decor. Seal any gaps between the door frame and wall with caulk to improve energy efficiency and prevent drafts.

Conclusion:

Congratulations! You’ve successfully installed an interior door, adding both functionality and style to your home. With the right tools, materials, and a little patience, this DIY project is well within reach for homeowners of all skill levels. Enjoy your newly enhanced living space!

I will never rake again!!!! 5/5 Star review.

“Powerful Performance and Comfort: A Game-Changer for Yard Work!”

I recently purchased the Husqvarna 150 BT Gas Leaf Blower, and I couldn’t be more impressed with its performance and features. This machine has truly transformed my yard maintenance routine, making it not only more efficient but also surprisingly enjoyable.

One of the standout features of the 150 BT is its exceptional power. The 50.2cc X-Torq engine delivers a strong and consistent airflow, effortlessly tackling leaves, debris, and even wet clumps with ease. This blower has significantly reduced the time and effort I need to spend on clearing my yard, leaving it spotless in no time.

What sets the 150 BT apart is its ergonomic design and user-friendly features. The adjustable harness and ergonomic handle make it comfortable to use for extended periods without causing fatigue or strain. The cruise control function is a game-changer, allowing me to maintain a consistent airflow without constantly adjusting the throttle – a small but impactful detail that enhances the overall user experience, and I haven’t experienced any issues with reliability.

Mr. Fix It gives the Husqvarna 150 BT Gas Leaf Blower 5/5 Stars. I highly recommend the 150 BT to anyone looking to invest in a quality gas leaf blower that delivers outstanding results.

Birds In Your Bathroom Vents? Mr. Fix It Can Keep Them Out!

If you have bathroom exhaust vents that have been invaded by birds or other pests in the past due to broken luvered slats or missing pest cages, Mr. Fix It has your solution. We hear from a lot of clients who have noticed the sound of birds or other pests in their bathroom exhaust vents and when they check the outside vent, the cage is missing or slats have been broken off. Mr. Fix It can replace those missing cages or the entire exterior vent. Take a look at some examples below. You can find the right replacement cages at your local hardware store or on Amazon.

Upgrade Your Kitchen with a Tile Backsplash

Your kitchen is the heart of your home, and nothing brings it to life quite like a stylish backsplash. Whether you’re a seasoned DIYer or a homeowner looking to upgrade your space, installing a kitchen backsplash is a fantastic way to add personality and functionality to your kitchen. In this post, we’ll walk you through our process, highlighting key steps and tips to ensure a successful and visually appealing installation.

Choosing the Right Backsplash:

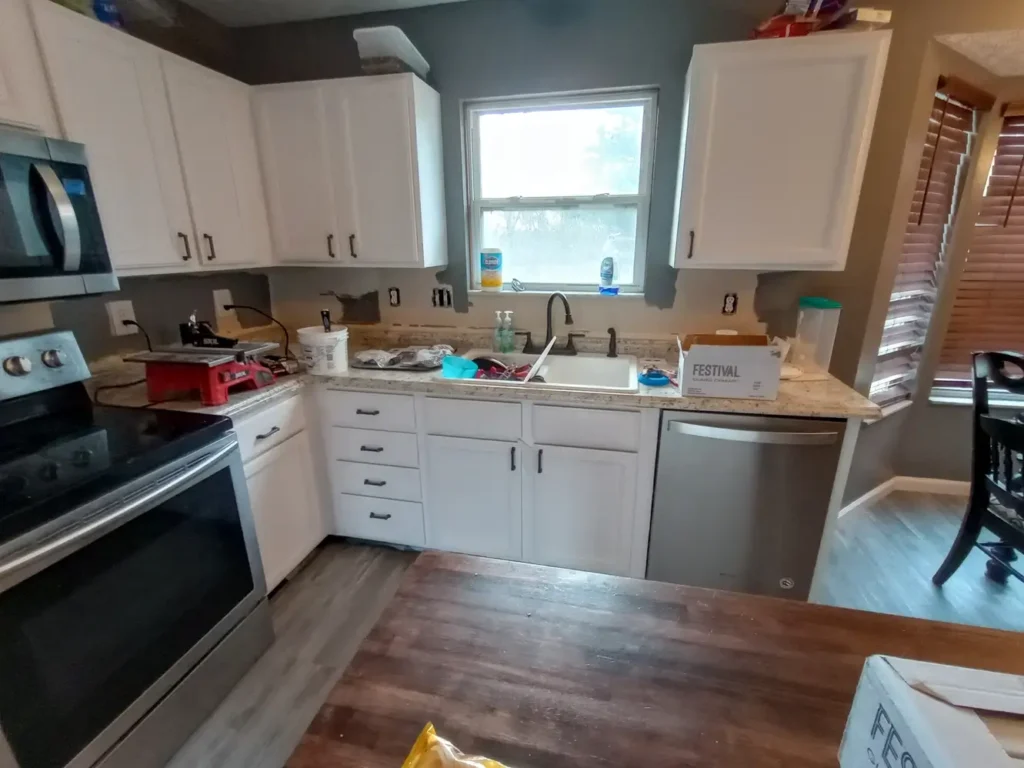
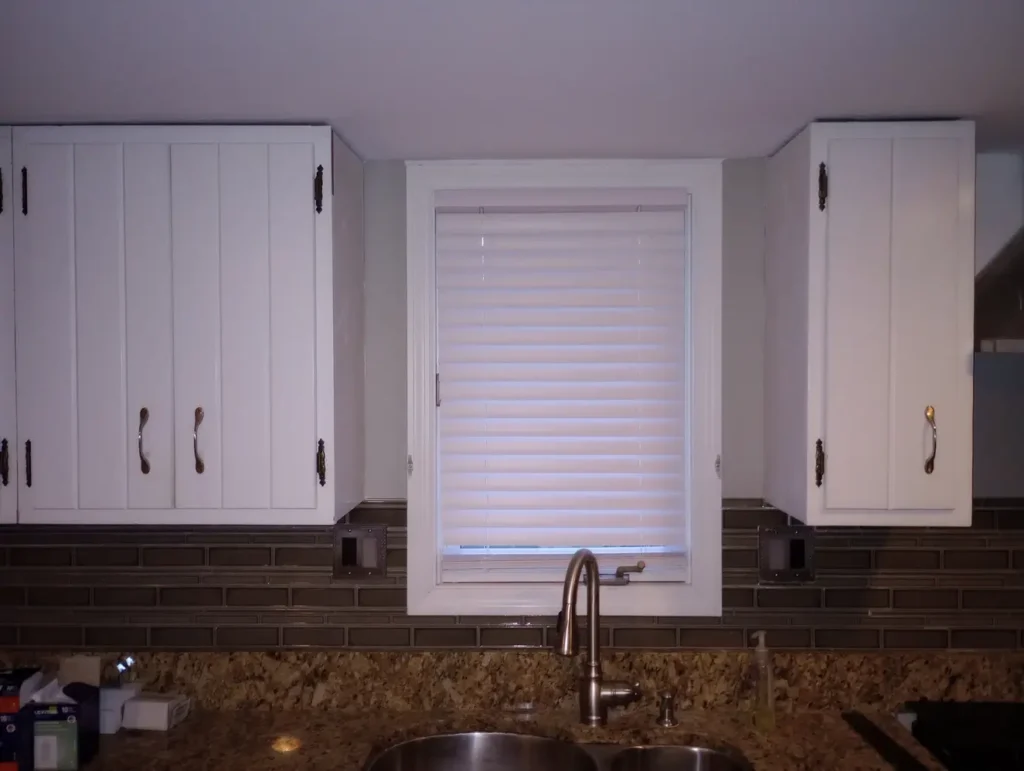
Before diving into the installation process, it’s crucial to choose a backsplash that complements your kitchen’s style and meets your practical needs. From classic subway tiles to intricate mosaic designs, the options are endless. Consider factors such as color, material, and ease of maintenance to find the perfect fit for your space.

Things to Think About:

1. Know Your Style: Before diving into the sea of tile options, identify your style preferences. Whether you lean towards a classic, contemporary, or eclectic aesthetic, understanding your style will narrow down your choices.

2. Consider the Material:

  • Ceramic: Affordable and versatile.
  • Glass: Adds a modern touch and reflects light.
  • Stone: Durable and offers a natural aesthetic.
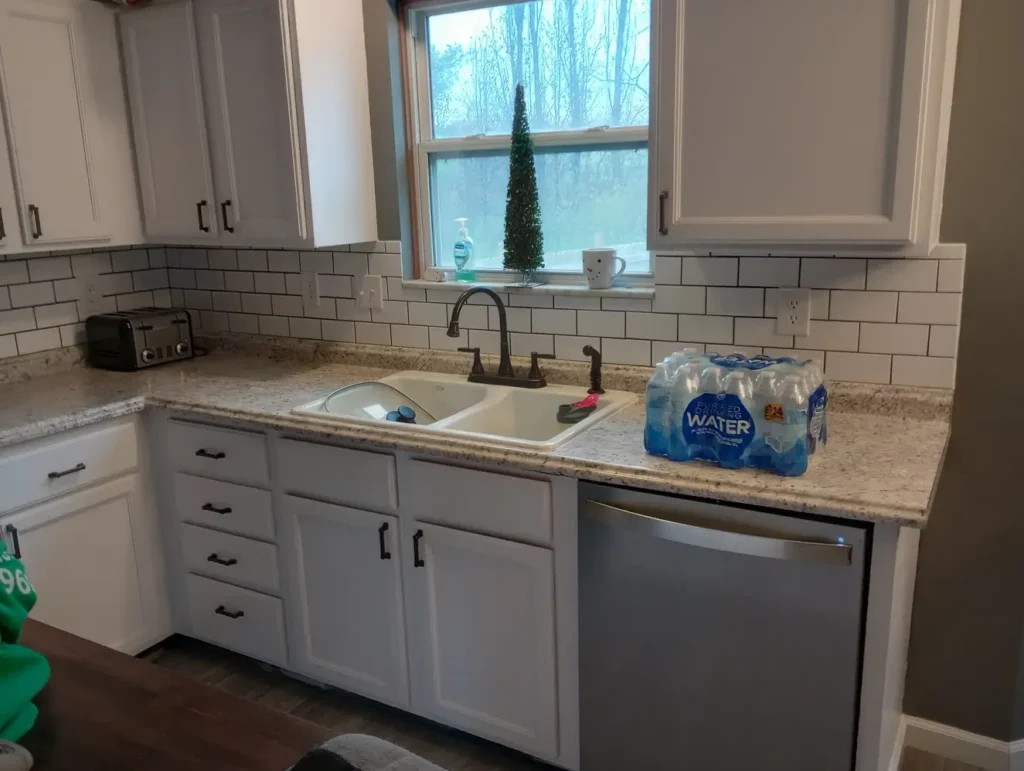
  • Subway Tiles: Timeless and versatile.

3. Don’t Forget About Maintenance:

  • Ease of Cleaning: Consider the level of maintenance you’re comfortable with.
  • Grout Color: Choose a grout color that complements the tile and is easy to maintain.

4. Factor in Durability:

  • Kitchen or Bathroom: Select tiles based on the room’s specific requirements.
  • Resistance to Stains: Opt for materials that resist stains and are easy to clean.

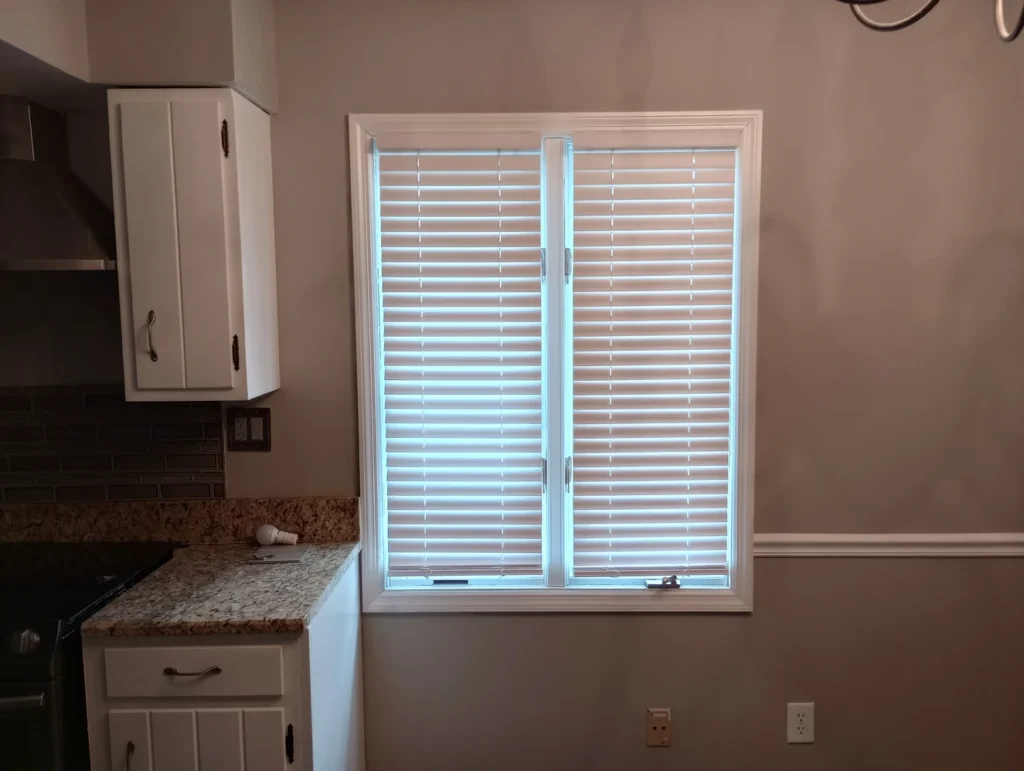
5. Choose a Focal Point: Decide whether you want the backsplash to be a subtle backdrop or a statement piece. This will influence your choice of pattern, color, and texture.

Average Costs in Columbus, Ohio:

  • Materials: Depending on the chosen material, expect to pay between $7 to $30 per square foot.
  • Labor: Professional installation can range from $20 to $50 per hour. On average, labor costs for a backsplash installation in Columbus fall between $500 and $1,000.

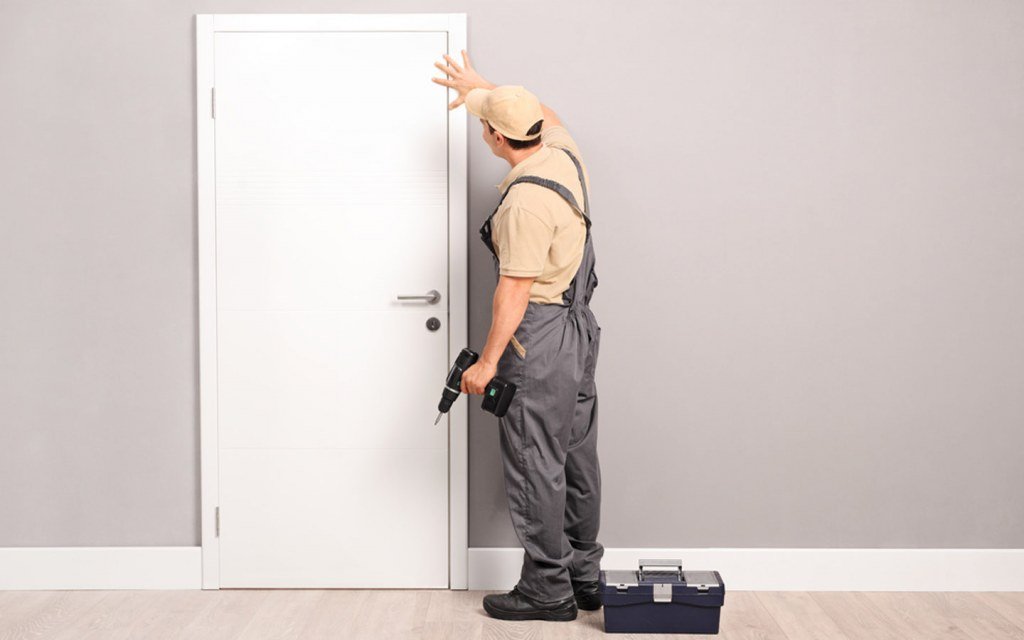
Why Hire a Professional? While DIY is an option, a professional installer ensures a flawless finish, especially when dealing with intricate patterns or delicate materials. It also saves you time and potential stress.

Conclusion: Selecting the right tile backsplash involves a careful balance between aesthetics, functionality, and budget. By considering your style, material preferences, and maintenance needs, you can make an informed decision that enhances the beauty of your home.

Ready to transform your space? Contact Mr. Fix It for personalized advice and seamless installation. The perfect backsplash is just a decision away!

Remember, the costs mentioned are averages, and actual expenses may vary based on specific project requirements. Always consult with local experts. Give Mr. Fix It a call today for a FREE estimate.